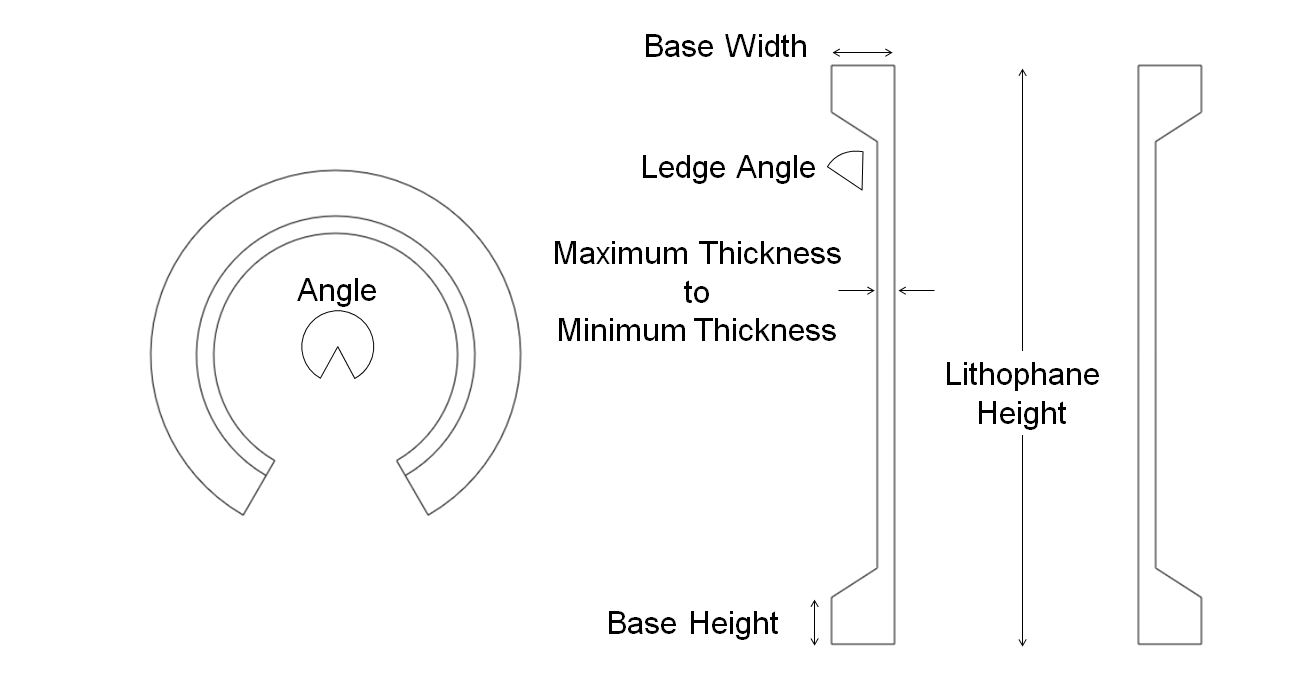
Design Schematic
Your Design
If you feel these tools add value, please consider becoming a patron. By becoming a patron, you will help pay for a faster server, and ensure that these tools continue to develop at a rapid pace. Patron's suggestions on how to improve the tools will also gain priority.
Become a Patron!No money to spare? Help for free by liking my YouTube videos and subscribing to my channel to help others find these tools! .
Curved Lithophane Maker
Turn a photo into a curved lithophane stl with the options below and monitor what your design looks like with the image under "Your Design." Detailed instructions are at the bottom of the page.
Instructions
For instructions, watch the video, read the blog post here, or read the below.
Default values are in the form above, so you can print right away, but you may want to change the design by changing those same values. The lithophane resolution determines the distance between unique thickness values, so a value of 0.3 would mean that there are 0.3mm between features on your lithophane image. A small Lithophane Resolution value will make your stl file a larger size, and will make your lithophane image clearer (assuming that you're 3D printer and original picture can match the resolution).
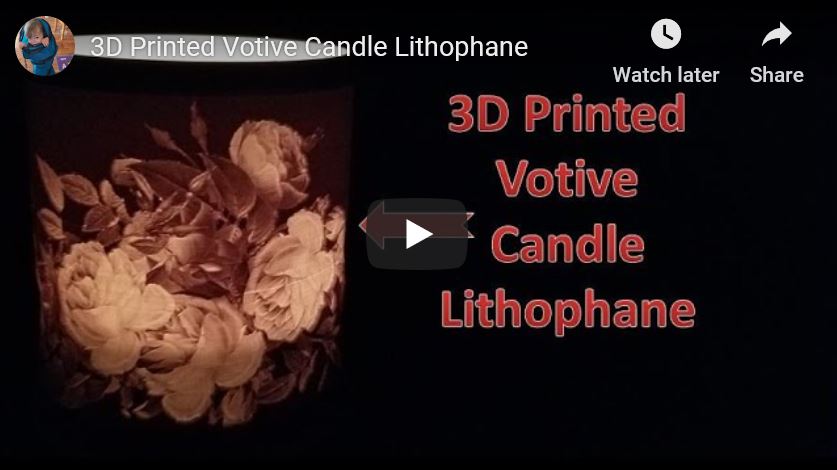
The Height value determines the height of the lithophane (including the frame). The Angle determines how curved your lithophane is. A small Angle will be flatter, while an Angle of 360 degrees will have a circular lithophane, perhaps to make a votive around a candle.
The size of the frame is controlled by the Frame Width, Frame Height, and Overhang Angle values. These values are shown in the schematic at the top. The Overhang Angle defines what the overhang will be as the lithophane transitions to the frame.
The maximum and minimum thickness determine the maximum and minimum thicknesses of the lithophane image, so these can be used to control the lithophane's brightness and contrast.
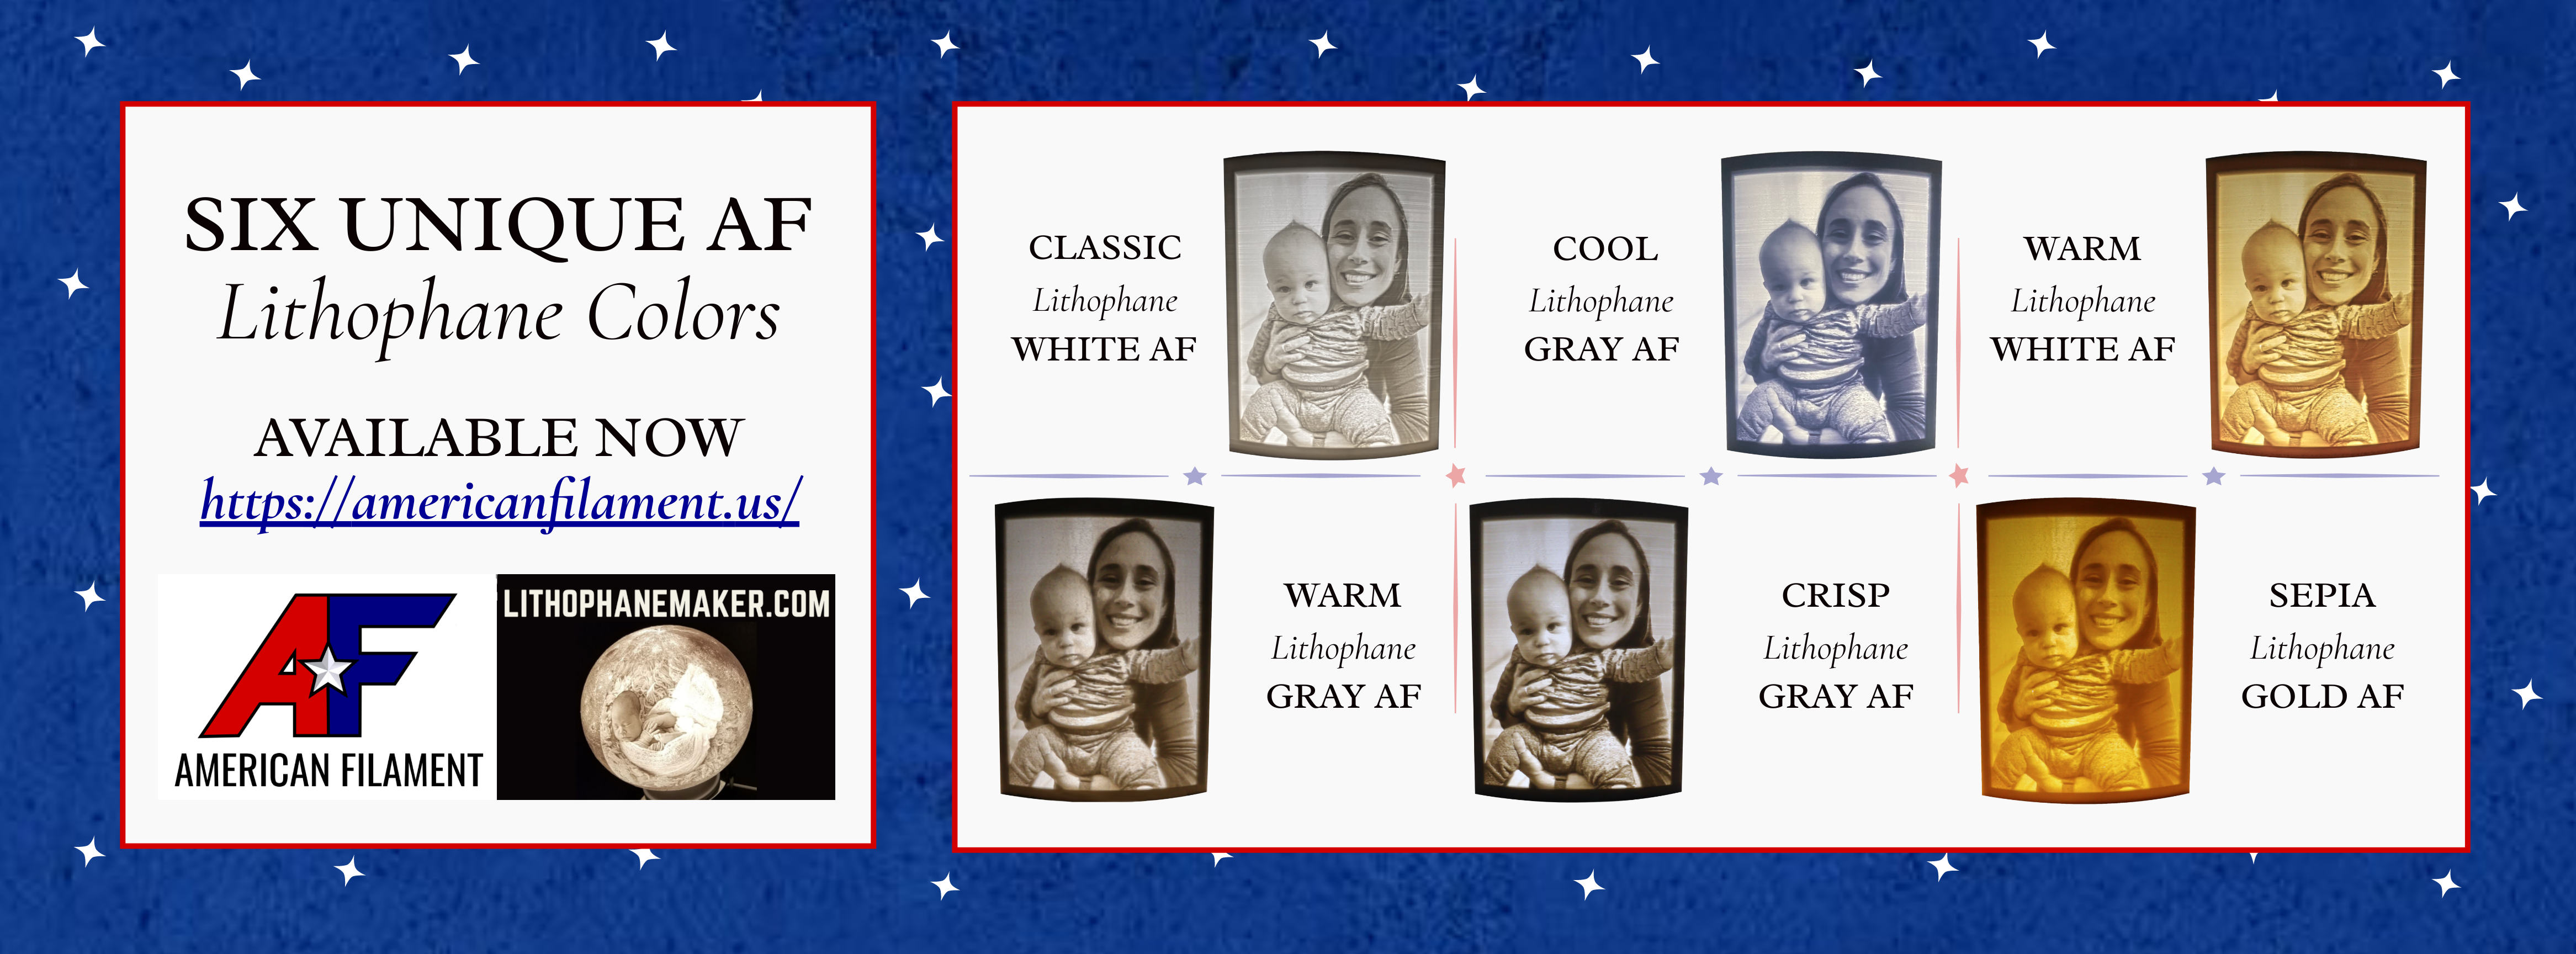
Get the best filament tailored to lithophanes!
Light bulbs
Your lithophane will be ready to download momentarily.
If you're running into trouble, join the Lithophane Maker User's group on Facebook to ask questions.
Support this service by linking to LithophaneMaker.com when you share pictures and videos of your lithophanes. Most makers find this site through referrals from lithophane makers like you!
You can also support the service by liking and following the videos, pages, and designs on YouTube, Thingiverse, social media! This will raise LithophaneMaker.com's visibility so that other makers can find the tools as well.
YouTube (like the videos and subscribe): YouTube
Thingiverse (follow and like the designs): Thingiverse
Facebook (like the page): Facebook
Twitter (follow me): Twitter
Instagram (follow me): Instagram